So, we have created our Datasource, Created our PowerApp, Created a ‘Home’ Screen, and added a “Create a New Menu’ button. Our Next step will be to create a screen where we can Create our new menu, and wire up the button on the ‘Home’ screen to navigate to it.
Create a New Menu Screen
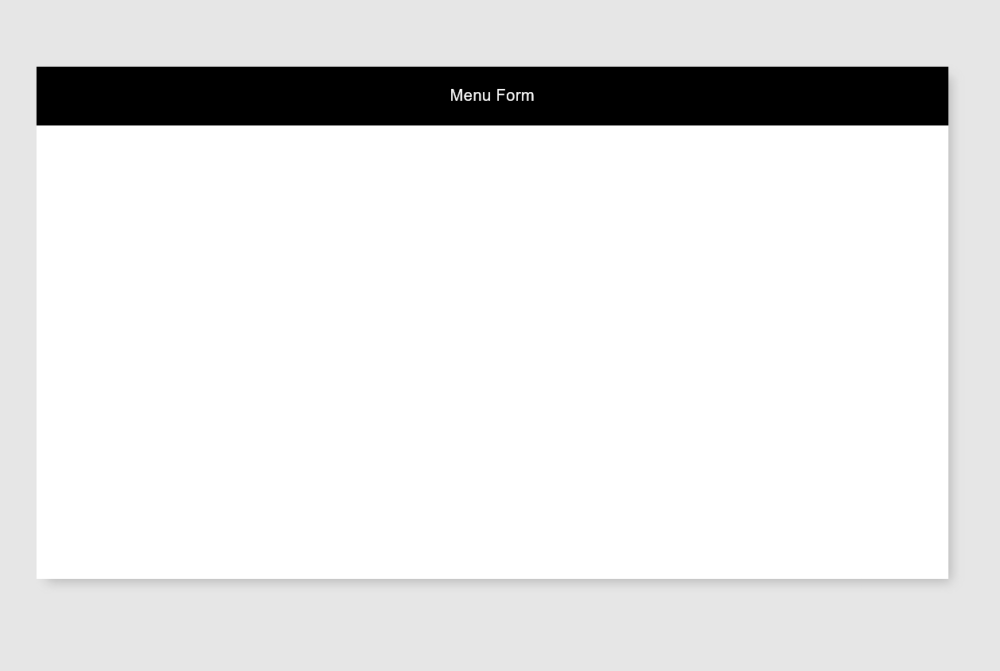
From the ‘Home’ Tab, click on ‘New Screen’, and then rename the new screen to ‘createMenu’. Next click the ‘Layout’ button on the Ribbon, and choose the ‘Infinite scrolling Canvas layout on the right window pane. This will add a title bar and a canvas. Delete the Canvas control from the layout. This will leave you with a Title bar. Change the Text on the Title bar, (and if you want different color scheme, change the ‘Fill’ color on the color bar as well:
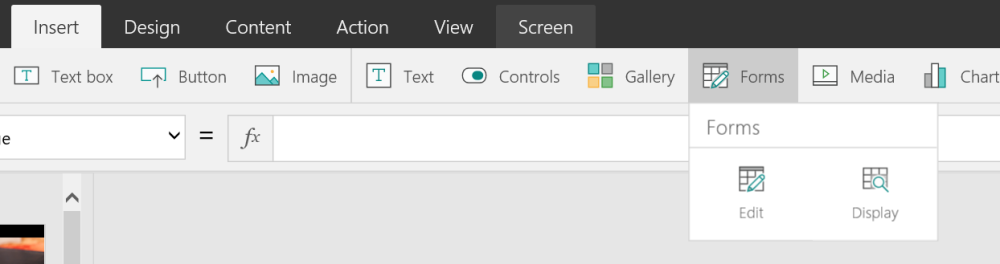
Next we will add an ‘Edit’ Form to the page. To do this, just click the Insert tab, then Click ‘Forms’, and then click ‘Edit’
Position the Form Control below the Title bar, and to the right of the screen. Resize the control so it takes up about half of the screen, but save room at the bottom so we can add a ‘Submit’ button.
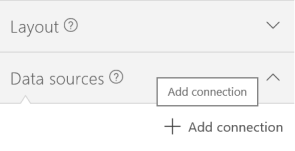
Next, we will connect this Form to our SharePoint ‘Menu Form’ list, and the ‘Menu Item’ list. Click “Connect your form to data’ to select the data source. Click ‘Add connection’:
Next, we need to point the data connection to our SharepOint lists. Find ‘SharePoint’ in the the list of available providers. When you select SharePoint, make sure ‘Connect  Directly’ is selected and click ‘Next’. (Alternatively, you can also connect PowerApps to your On-Premise SharePoint data sources by using a Data Gateway.)
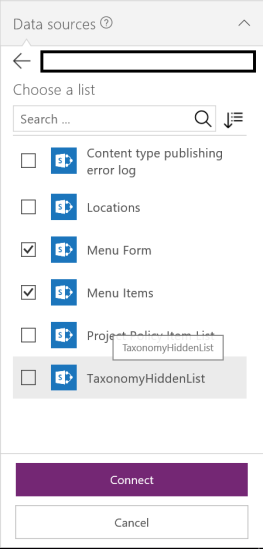
Now you will need to define the URL to the site where you created the lists we will use for our Data Sources. Type in the URL to the site where the lists reside, and then select ‘Menu Form’ and ‘Menu Items’ to add the data sources.
Now that the Data Sources have been connected, we will want to add the fields to our form where the submitted values will be stored. Just click the visibility ‘eye’ icon next to each field you want to add. In the case of this form, we will add Title, and then fields 1-10.
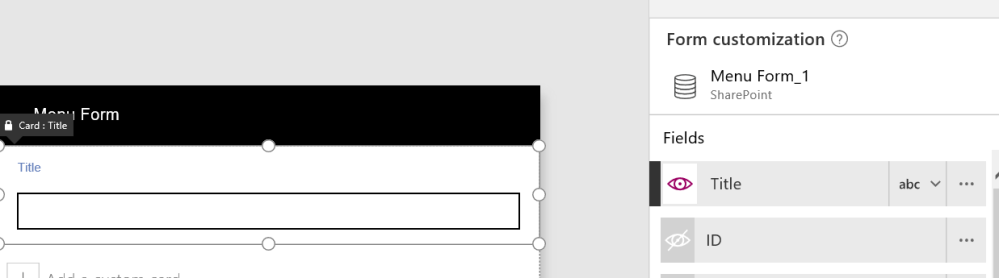
Once all of our necessary fields have been added to the form, I would recommend changing the labels of each field to something more descriptive for the end users. Just double click each field name to change the label. Since this will be a menu, I have added areas for Appetizers, Salads, Entree’s and Desserts.
Configure the Drop-down fields
Our next step will be to convert the simple text fields into Drop-downs that will contain filtered selections from the Menu Item list. (i.e. the Appetizers field only shows Appetizer selections.). Also, we will want to configure the fields to submit the ID of the list item to each filed when the Form is submitted.
For fields 1-10, click the ‘123’ Icon next to the field name, and change the field to “Allowed Values”:

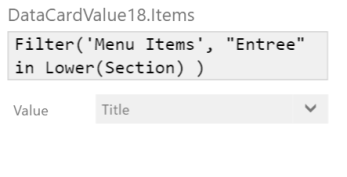
Next, click the ellipses next to each field and click ‘Advanced options’. Click Unlock to edit the properties of the field. We need to edit the DataCardValuexx.Items property and add this Formula:
Filter(‘Menu Items’, “Entree” in Lower(Section) )
This formula Filters all of the Items from the Menu Form Datasource that are tagged with Entree, in the section column. Once the Formula has been added, we can select the Value to show, in this case we want to see the Titles in the dropdown:
Next, change the ‘Update’ property field formula from DataCardValuexx.Selected.Value to DataCardValuexx.Selected.ID.
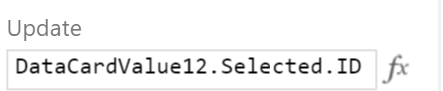
We now have fully filtered drop down values that will save the ID number to our SharePoint list when the Form is Submitted.
Lastly, let’s add a button at the bottom to Submit the Form. Just Insert a new button from the Ribbon, and style it as you see fit. Place it below the Form we just created.

In the Formula bar, find the ‘OnSelect’ property, and enter in this Formula: SubmitForm(Form1)

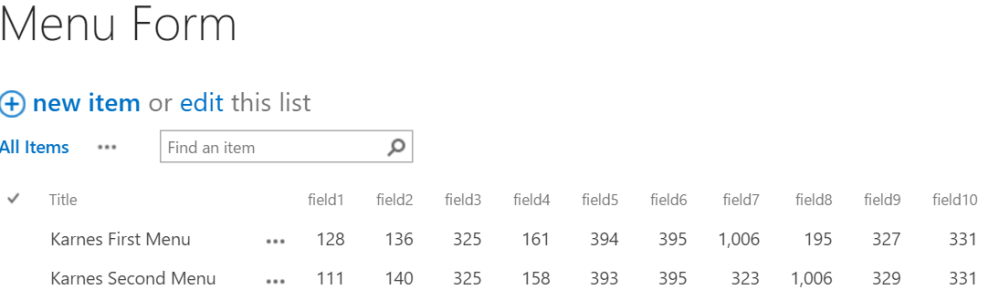
Now, when the fields are filled out and the button is clicked, all of the captured values will be saved back to our Menu Form SharePoint List!:
Now that we have our edit form, click on the Home view we created in part one, and then click the Button we created to ‘Create a new Menu’. For it’s OnSelect property, type in this formula:
NewForm( Form1 ); Navigate( createMenu, ScreenTransition.Fade )
This formula will instantiate a blank Form when clicked, and Navigate to the Edit screen we just created. It will also do a ‘Fade’ transition to the new screen. There a re few other transitions you can use natively (Cover, Uncover), to provide your users with a fluid experience. I recommend experimenting to find what suits you best.
In Part 3 we will create a screen to allow for users to view Menu Forms they have submitted and see the status on them. Click Here for Part One of this series.
If you’re interested in learning more about PowerApps, SharePoint Online, or Office 365, please feel free to reach out to me at jo.karnes@centricconsulting.com, or visit me at http://www.centricconsulting.com

Thank you for an excellent post, it was very interesting and informative.
LikeLike
Hi there, I am trying to follow your instruction in my first PowerApp and cannot find the Layout on the ribbon you reference. “Next click the ‘Layout’ button on the Ribbon, and choose the ‘Infinite scrolling Canvas layout on the right window pane”. I do not have those options.
LikeLike
Hi Shel! Sorry, this post was from Last year, and PowerApps has been through a lot of changes since then. Now, in Power Apps, just Click “New Screen” and you should get a dropdown with Three Options. Just Choose “Scrollable Screen”
LikeLike