In Parts 1, 2 and 3 of this series, we created a PowerApp that will allow you to retrieve and submit data from SharePoint for Menus. In this post we will create a View for users to see details on all of the available menu items.
So, the first step will be to add a new screen as we did in Part 2 of this series. This new screen will be named ‘MenuItems’. Change the layout to match the Edit screen.
We will need 2 controls for this screen. The First will be a drop down control. This can be added by clicking ‘Insert’, clicking Controls, and then clicking drop down.

Position it at the top of the screen. The second will be a Vertical Gallery control, like we added in Part 3. Position it just below the Drop down as shown below:
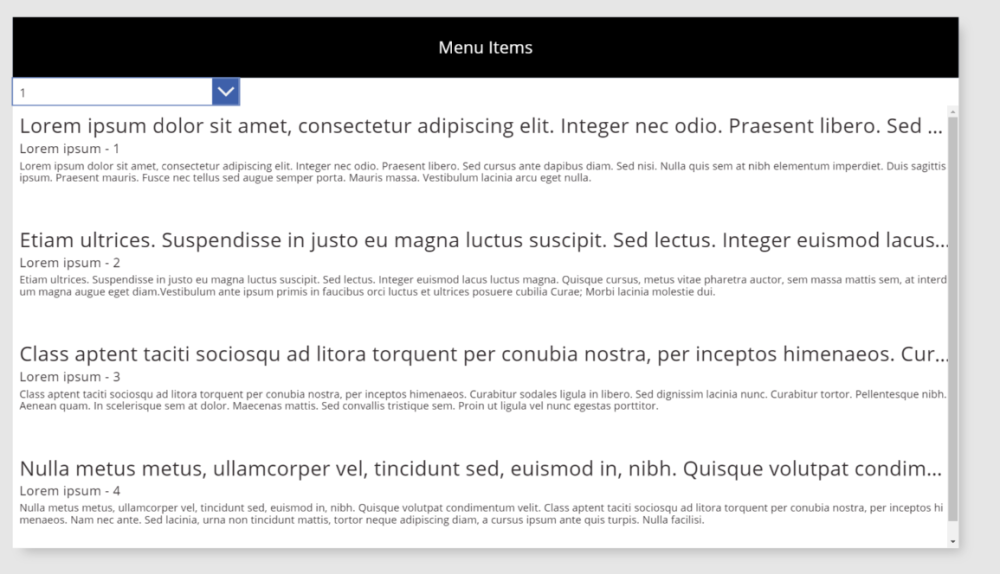
Our Goal for this screen will be to allow users to select a specific section of the Menu Items list, and only see menu items related to that section. On the formula bar for the Drop-down control, change the Items property to this Formula:
Distinct(‘Menu Items’, Section)

This formula will populate the drop down list with all of the section sin the Menu Items list. The Distinct command removes all duplicates, so we are only left with a distinct list.
Next, we will want to connect the gallery to the drop-down list. So we will need to change the Items property of the Gallery to this formula:
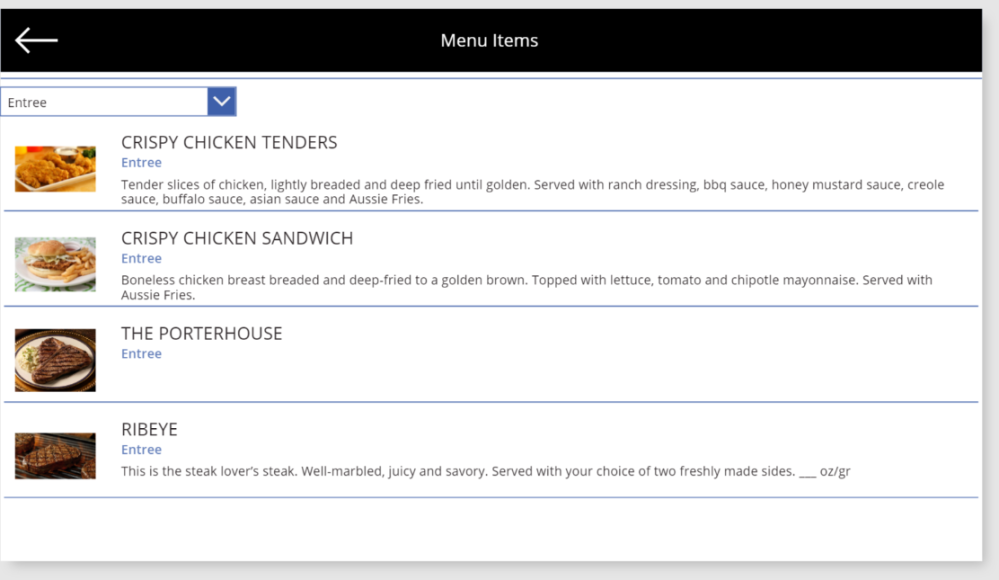
Filter(‘Menu Items’, Section=Dropdown1.Selected.Value)

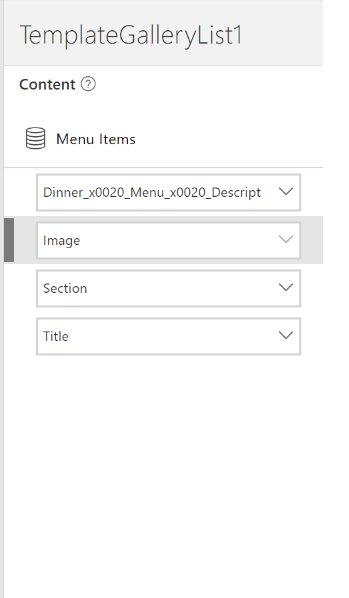
This will filter the gallery based upon whatever selection is made in the drop-down. Also, we need to choose the fields that will be displayed in the Gallery. For this example, we will show the Title, Section, Description, and Image. The Image filed should map to an Image control, which will be placed on the left of each selection.
As an added bonus, we will also add the ability for users to be able to download the image when it is clicked. To do this, click the image control, and change the OnSelect property in the formula bar to:
Download (Image1)

Now you can also Add a ‘Back’ button the screen, a well as add a new Button on the home screen so that users can Navigate to the Menu Items screen. Users now have a way to view and filter all of the Menu Items!
In Part 5 of this series we’ll add a new screen for ‘Locations’ and demonstrate how we can display data through an external API.
If you’re interested in learning more about PowerApps, SharePoint Online, or Office 365, please feel free to reach out to me at jo.karnes@centricconsulting.com
