So, in the Previous post, we created an Azure Function that we can pass a query to and cancel a departing user’s meetings. But that’s only part of what we wanted to accomplish. Now we need to make it mobile friendly, so let’s dive in and use PowerApps and Flow to make it happen!
Make a new PowerApp
So, head over to powerapps.com, sign in, and create a new Blank Canvas App. For this example, we’re just going to use 2 controls, so add a Combo Box and a Button the screen.

We’ll be using the Combo Box to search for users in our tenant, so you’ll want to add the Office365Users Connector as a Data Source. Once that is added, add the following formula to the ‘Items’ property of the Combo Box:
Office365Users.SearchUser({searchTerm:ComboBox1.SearchText}).DisplayName

Now that our Combo Box can search for users, lets wire up a Flow with the Button we added. So, slect the Button you added on the screen, and then click Actions-> Flows. Click on Create a new flow in the Dialog that opens up:

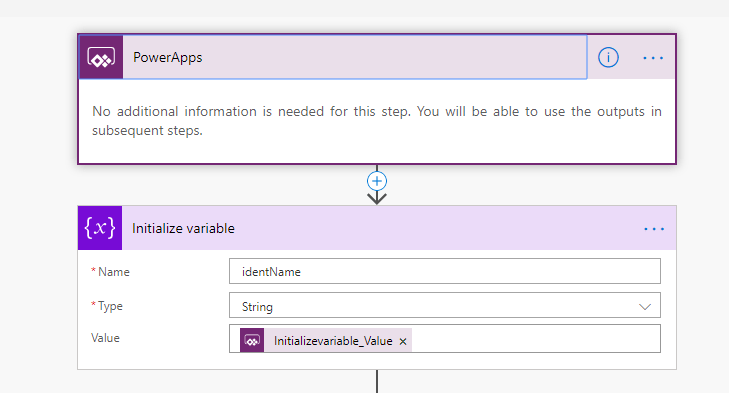
So, when the new flow appears in your Browser, give it a name, and then add an action to initialize a variable. We’re doing this so we only pass a single string to our Azure Function. Give the variable a Name, change it’s type to “String”, and for the value, choose “Ask In PowerApps”.
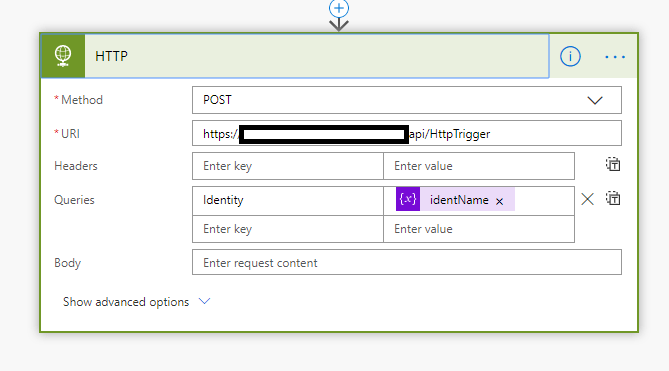
Next, we’re going to want to call an HTTP request. So, add an Action and Find “HTTP”. Change the method to “POST”, enter in the URI of your azure function (You should be able to find this on the same page as Run.ps1 on your Azure Function), and eneter in a new Query. Enter “Identity” as the Key, and choose the variable we created in the previous step as the value.
Save your flow and then return to PowerApps. Click on the newly created flow to associate it to the Button.
When you associate the flow to the button, you will be able to complete the pararemeters to run the flow. In our case, we want to pass the selected display name form the Combo Box to the flow, so finish the flow’s paramaters with:
First(Comboxbox1.SelectedItems).Displayname

That’s all there is to it! So now, hit F5 to preview the app, type in a test user’s name and press the button.
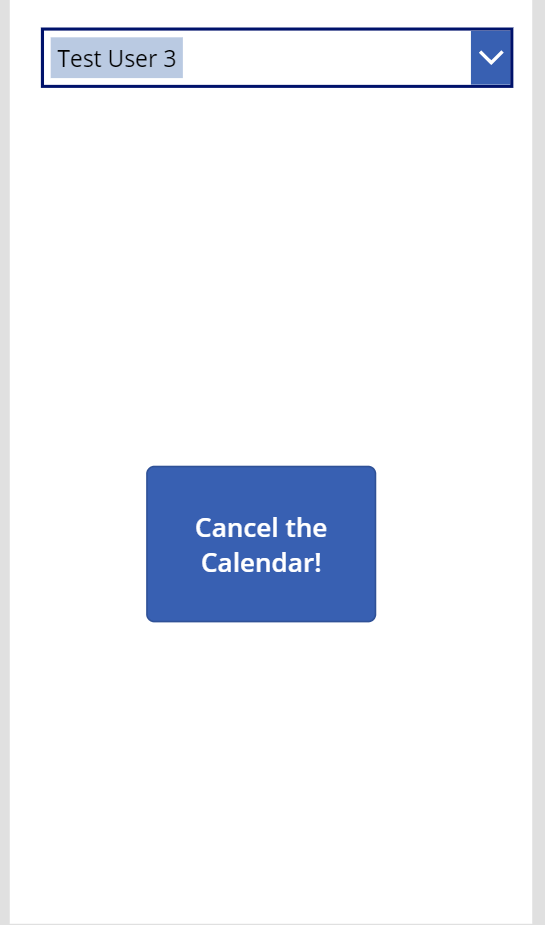
As long as you had some Test Appointments, you should now see cancellations from that user.

While this isn;t a production ready instance, with some work around Identity, Authroization, and sprucing up the UI/UX of the PowerApp, you can turn this functionlity into something mobile-ready in a very short time.
I hope this might be something useful for all the Exchange Admins out there who find the mobile administration to be a chore. As always, please feel free to reach out to me at jo.karnes@centricconsulting.com if you have any questions.
