Click here to read Part 1 of this series
We’ve got our Custom Connector in Place, lets make a Flow!
So, Open Microsoft flow, and create a New Blank Flow. I named my flow ‘Machine Learning Request-Response’. The first Action we want to Add is the generic “PowerApps’ Trigger. This essentially says “Start this flow when PowerApps says so”
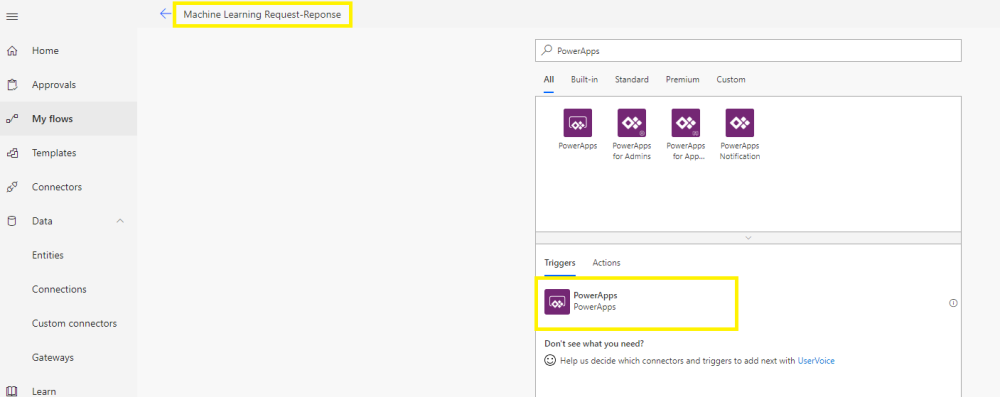
The Next Action we want to Add is the “Execute the web service and get a response synchronously” Action in our Custom Connector.

Once you’ve clicked on that Action, you will be prompted for a new Connection Name, and you will need to pass the API key from your Machine Learning Web Service (Part 1 of this series shows you where this is located).

After you click ‘Create’, you will then be brought to the details of the Action, where you can format your Request. The Header area should be automatically filled out, and you can copy and paste the Sample Body of the request from the API Help Screen (Also shown in Part 1 of the series).

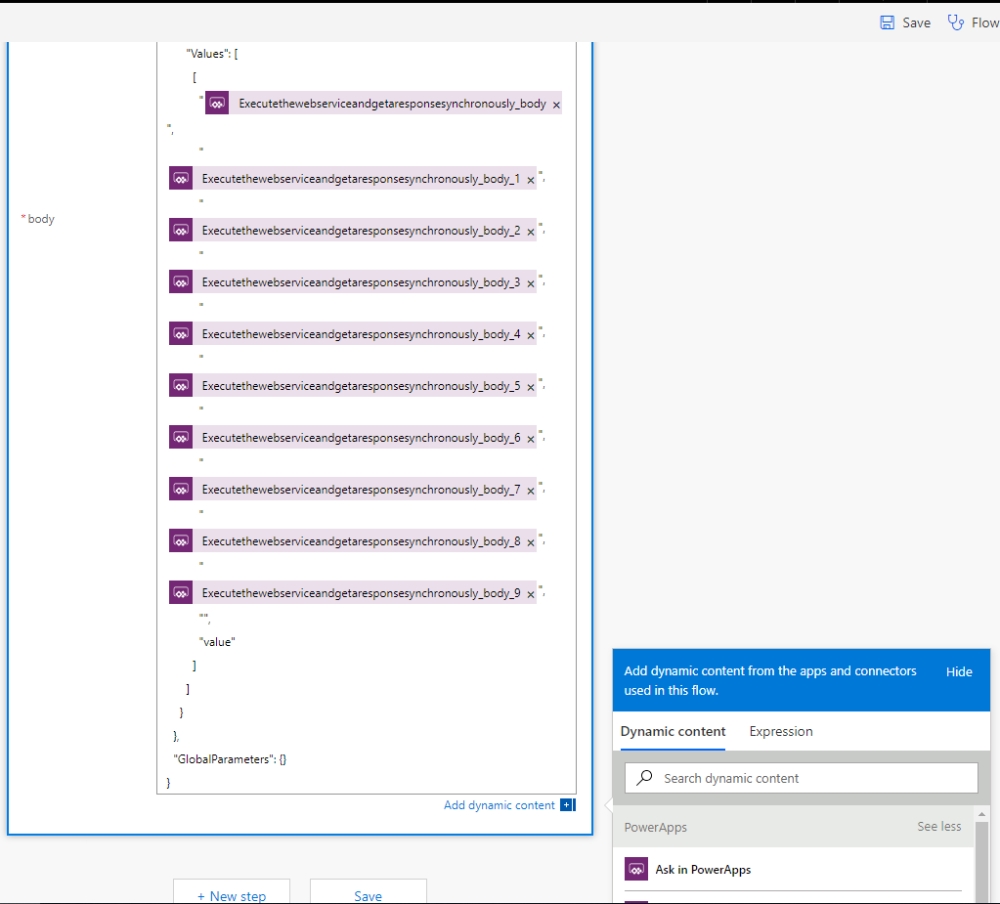
Next we will want to replace “Values” in the body of our request with Input gleaned from PowerApps. Since will will be using PowerApps to input certain values, Flow has to know which values are mapped to which Input Boxes. So, we will want to remove the word “value” in between each quotation mark, and click on “Ask In PowerApps”. This creates a variable that will be passed from PowerApps to flow:
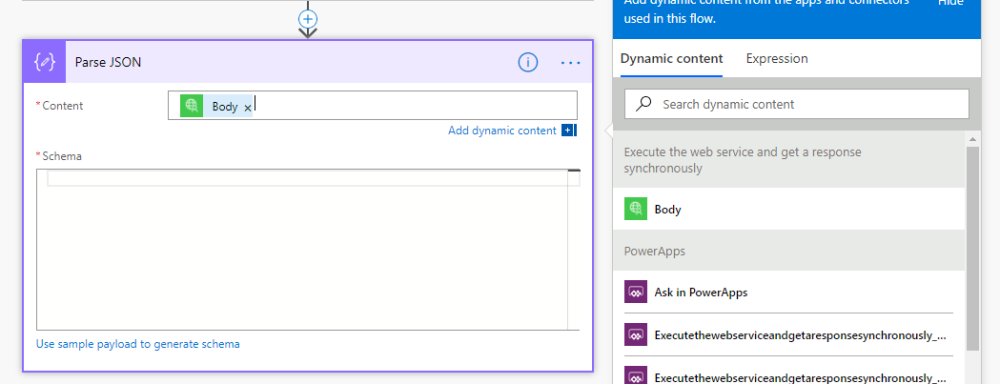
Next, we will create a new Action that will Parse our JSON response. Find the “Parse JSON” Action and add it.

We’ll be passing the Output of our API call to Parse JSON, so, in the Content box, you should see a Body variable. Click to add that. Next, we will need to define the schema of our JSON Output. Click on “Use Sample payload to generate schema”.
We will want to copy and paste a Sample Response from the API. Once again, you can get this sample from the API Help document of your Machine Learning Web Service (As described in Part of this series)

We will want to add one final action to our Flow, we want to Respond to PowerApps with the value we were expecting from our response (Instead of the entire JSON Output Response). First we need to add the “Respond to PowerApps” Action:

Next we will want to add a “Text” Response. We will need to define a Name (I used ‘flowresponse’, but this can be whatever is more descriptive for you). And in the Value, we want to construct an expression to find the value we want. In this case, based on my JSON Schema it would be: body(‘Parse_JSON’)[‘Results’][‘output1’][‘value’][‘Values’]
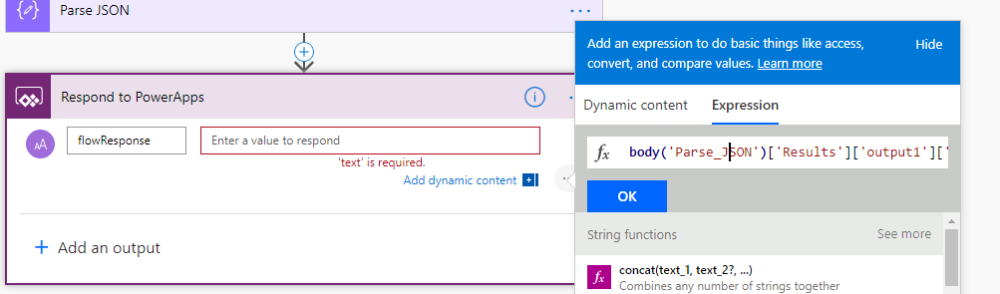
That expression just grabs the body of the Output from Parse JSON, and drills down to the “Values” key and gets the value.
You can now Save your Flow, and it’s complete!
Now, Let’s make a PowerApp!
Now, for the purposes of this post, I’m not going to go into every single detail of building a PowerApp, hopefully you’re familiar enough with it from my other posts. But for this demo, I built a PowerApp with 4 Screen. A Title Screen, 2 Screens to Input the Data, and 1 screen to view the results. The Input screen just contains input Text boxes (and 1 date control)


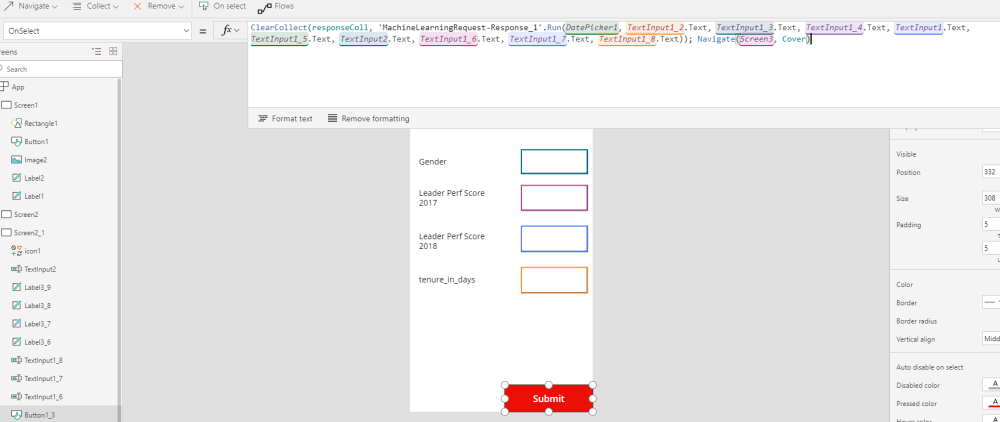
Now what I would like to touch on is what occurs when a user Submits a Request. On the Submit button I added my Flow from “Actions -> Flows”. I then Constructed this argument:
ClearCollect(responseColl, ‘MLRequest-Response’.Run(DatePicker1, TextInput1_2.Text, TextInput1_3.Text, TextInput1_4.Text, TextInput1.Text, TextInput1_5.Text, TextInput2.Text, TextInput1_6.Text, TextInput1_7.Text, TextInput1_8.Text, “”, “”)); Navigate(Screen3, Cover)
So, what’s happening here is I am Instantiating a Collection, which is collecting the Response from running the flow. In the Flow I am passing the parameters the flow wants by sending it the Text values the user entered in for each of my Input Text Boxes, and then Navigating to the next screen.
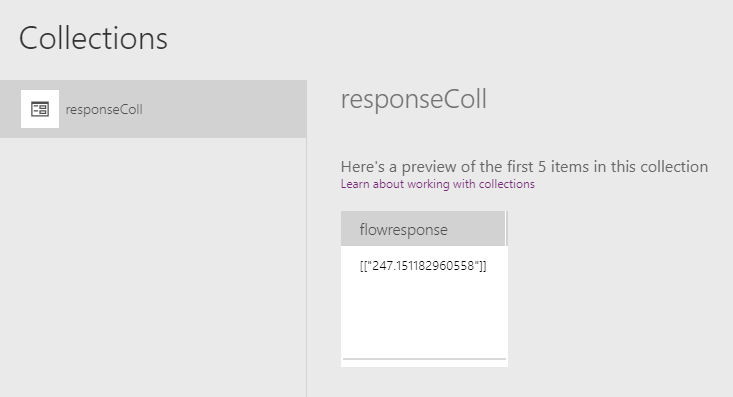
So, when I click the “Submit” button in my Designer Preview, I can go look at my collections, and see the value that is being added to the collection:
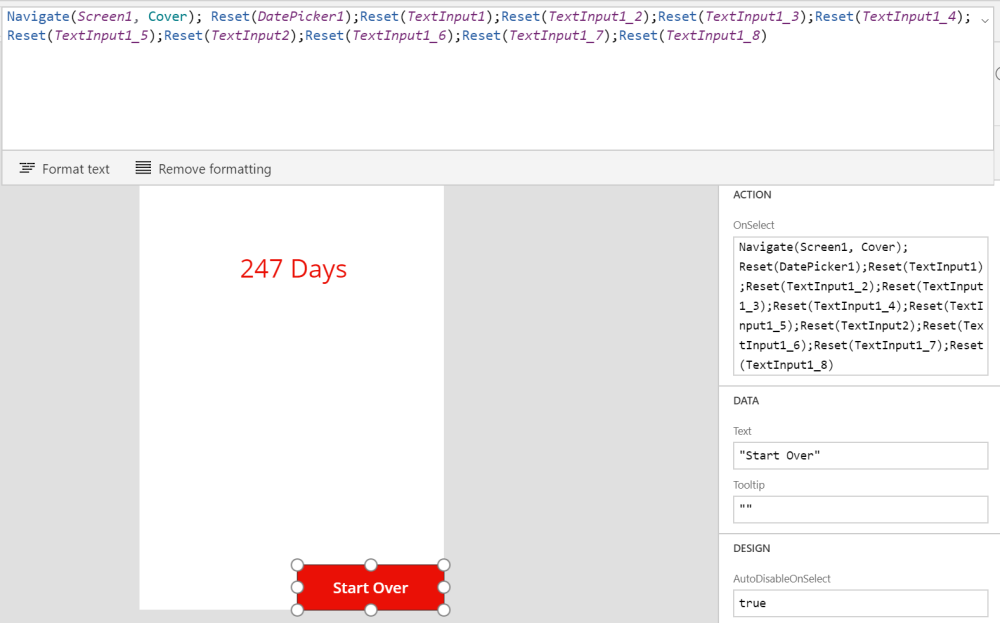
Now that I have my value, I also wanted to display it in a more friendly way (Without Brackets and without everything past the decimal.) So I added a Label and used the following formula:

This formula just takes the Flow response and looks for a contiguous match of just digits. Then I used concatenate to put ” Days” at the end.
Lastly as a bit of Housekeeping on the Apps usage, when a user clicks the “Start Over” button, it resets all the controls, and sens the user back to the Home screen!
So, In about a day, I was able to create a fully functional Mobile App to predict how long an employee might stay with an organization. I hope you found this useful, and please check out some of my other articles to take a deeper dive into the product, and as always, please feel free to reach out to me at jo.karnes@centricconsulting.com
